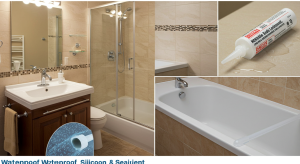
Waterproof Silicone Sealant for Bathrooms
2025-02-01

Bathrooms are among the most moisture-prone areas in any home, making them particularly susceptible to water damage, mold growth, and mildew. Without proper sealing, small leaks can lead to significant structural damage and costly repairs. This is where waterproof silicone sealant proves its worth. It is a versatile, long-lasting, and reliable solution for protecting bathroom surfaces from moisture-related problems. This comprehensive guide explores the benefits of waterproof silicone sealant, its applications, how to select the right one, and proper application techniques.
Why Waterproof Silicone Sealant is Essential for Bathrooms
Waterproof silicone sealant is indispensable for maintaining a safe, hygienic, and long-lasting bathroom environment. It plays a critical role in protecting surfaces, preventing water damage, and promoting the overall integrity of the bathroom.
Prevents Water Damage
Bathrooms experience daily exposure to water, creating numerous opportunities for leaks and moisture infiltration. Waterproof silicone sealant acts as a protective barrier, preventing water from seeping into walls, floors, and fixtures. By keeping moisture out, it safeguards against structural deterioration, wood rot, and other forms of damage.
Resists Mold and Mildew Growth
The damp environment in bathrooms makes them prone to mold and mildew. Silicone sealants are often enhanced with antimicrobial properties that inhibit the growth of mold, ensuring a clean, sanitary space. This benefit is particularly crucial in areas like showers and bathtubs, where moisture levels are consistently high.
Provides Long-Term Flexibility and Durability
Unlike traditional caulks, waterproof silicone sealants remain flexible even after curing. This flexibility allows them to absorb movement from temperature fluctuations, structural shifts, and vibrations without cracking. Their long-lasting performance ensures effective protection for years, making them ideal for high-moisture areas.
Offers Superior Adhesion
Waterproof silicone sealants adhere effectively to various bathroom materials, including ceramic tiles, glass, metal, acrylic, porcelain, and natural stone. This strong adhesion ensures that sealed joints remain watertight, even under constant exposure to water.
Applications of Waterproof Silicone Sealant in Bathrooms
Proper application of waterproof silicone sealant in strategic areas can prevent water leaks and prolong the life of bathroom installations.
Sealing Bathtub and Shower Joints
Bathtub and shower seams are particularly vulnerable to water seepage, leading to mold growth and hidden damage behind walls. Applying a waterproof silicone sealant along these joints ensures that water stays contained within the shower or tub area, preventing costly repairs.
Sealing Around Sinks and Countertops
Gaps between sinks and countertops are common entry points for water. Over time, moisture can damage wooden cabinetry or cause warping. Properly sealing these joints prevents water from infiltrating underlying materials and ensures the longevity of the sink area.
Waterproofing Tile Joints on Walls and Floors
Grout lines between tiles often crack or deteriorate, allowing water to seep into the subfloor or wall structure. A layer of silicone sealant over tile joints enhances waterproofing, protects the grout, and extends the lifespan of tiled surfaces.
Sealing Toilets and Their Bases
Water pooling around the base of the toilet can lead to floor damage, unpleasant odors, and even mold beneath the surface. Sealing the base with waterproof silicone ensures that no water leaks into the flooring or subfloor.
Protecting Window and Door Frames
Bathroom windows and doors are frequently exposed to humidity and condensation. Sealing the frames with silicone prevents moisture from accumulating, reducing the likelihood of mold growth, frame damage, and drafts.
How to Choose the Best Waterproof Silicone Sealant
When selecting a waterproof silicone sealant for your bathroom, consider several factors to ensure optimal performance and long-lasting protection.
Ensure 100% Waterproofing Capability
Look for products explicitly labeled as 100% waterproof. This designation indicates that the sealant can withstand prolonged exposure to moisture without losing its effectiveness.
Prioritize Mold-Resistant Formulations
Bathrooms are ideal environments for mold growth, so choose a sealant that contains mold-resistant additives. These formulations prevent mold and mildew from developing, keeping surfaces cleaner and healthier.
Check Surface Compatibility
Make sure the sealant is compatible with the materials you plan to seal, such as tiles, metal, glass, or acrylic. Most high-quality silicone sealants work with a wide variety of surfaces, making them suitable for multiple applications.
Evaluate Curing Time
Curing time varies among sealants, ranging from a few hours to over 24 hours. If you need to use the bathroom soon after application, opt for a quick-curing product.
Consider Color Options
Silicone sealants are available in clear, white, and various colors to match bathroom aesthetics. Selecting the right color ensures a seamless and visually appealing finish.
Step-by-Step Guide to Applying Waterproof Silicone Sealant
Proper application is crucial for the sealant’s effectiveness and longevity. Follow these steps to achieve a clean and professional result.
Prepare the Surface
Thoroughly clean the surface to remove dirt, dust, grease, and any old sealant. Use a scraper or utility knife to remove debris and ensure a smooth application area. Cleaning with rubbing alcohol or a mild solution ensures optimal adhesion.
Apply Masking Tape for Clean Edges
Applying masking tape along both sides of the joint helps achieve neat, straight lines and prevents excess sealant from spreading. Although optional, it is recommended for achieving a professional look.
Load the Sealant into a Caulking Gun
Insert the silicone sealant tube into a caulking gun, cutting the nozzle at a 45-degree angle for precise application. The angled cut ensures better control and coverage.
Apply a Consistent Bead of Sealant
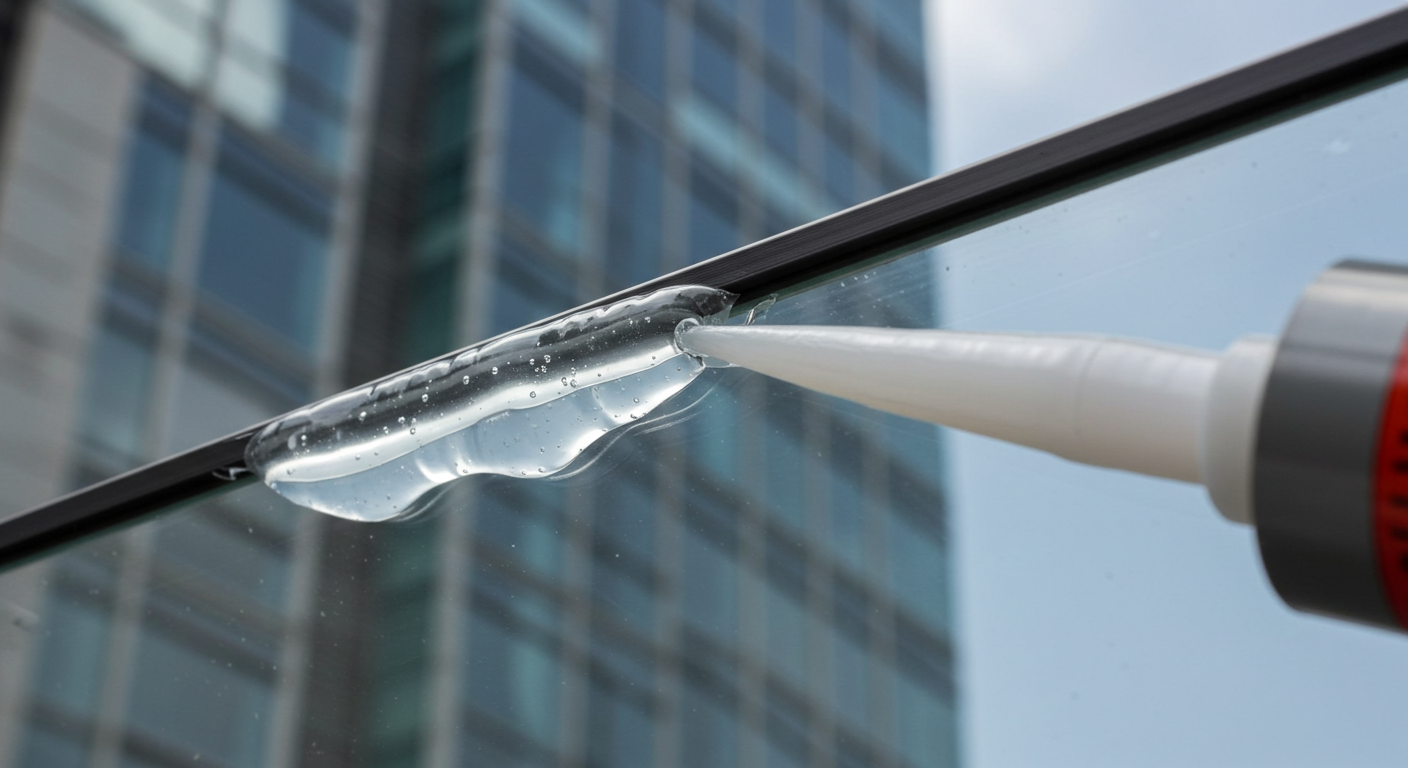
Squeeze the trigger of the caulking gun while moving it steadily along the joint, applying a uniform bead of sealant. Ensure the bead is thick enough to fill the joint without gaps but not excessively applied.
Smooth and Finish the Sealant
Smooth the bead of sealant using a smoothing tool or your finger dipped in soapy water. This step ensures even coverage, removes air bubbles, and improves the sealant’s adhesion.
Remove the Masking Tape
Peel off the masking tape before the sealant begins to cure. This prevents the sealant from sticking to the tape and leaves clean, crisp edges.
Allow Time for Curing
Follow the manufacturer’s instructions for curing time. Ensure the sealed area is not disturbed during curing to achieve maximum performance.
Maintenance and Longevity of Waterproof Silicone Sealant
Regular maintenance ensures that the silicone sealant retains its waterproofing properties and continues to protect bathroom surfaces.
Clean Sealed Areas Regularly
Clean sealed joints with mild soap and water to prevent dirt and grime buildup. Avoid harsh chemicals or abrasive cleaners, as they can degrade the sealant over time.
Inspect for Damage
Periodically check for cracks, gaps, or peeling in the sealant. Address any damage promptly by cleaning and reapplying the sealant to prevent moisture infiltration.
Reapply When Necessary
Over time, even high-quality sealants may require reapplication. Reapply silicone sealant as needed to maintain its waterproof integrity and ensure long-term protection.
Common Mistakes to Avoid During Application
Avoiding common mistakes during application can help ensure the sealant’s effectiveness.
Skipping Surface Preparation
Failing to properly clean and dry the surface reduces adhesion and may cause premature failure of the sealant. Always prepare the area thoroughly before application.
Overapplying or Underapplying Sealant
Applying too much sealant can lead to a messy appearance, while too little may leave gaps that allow water to penetrate. Aim for a consistent, appropriately sized bead.
Ignoring Curing Time Guidelines
Using the bathroom before the sealant has fully cured can compromise its performance. Be patient and follow the recommended curing time to ensure optimal results.
Conclusion
Waterproof silicone sealant is a vital component of maintaining a durable, moisture-resistant bathroom. By choosing the right product and applying it correctly, you can prevent leaks, mold growth, and structural damage. Regular maintenance and timely reapplications will further extend the sealant’s effectiveness, ensuring that your bathroom remains clean, dry, and damage-free for years to come.


